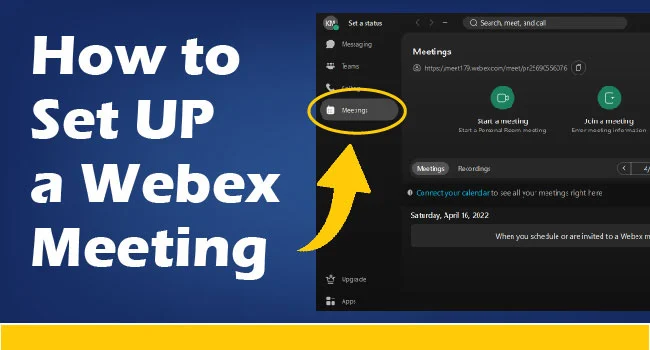
Hello & welcome back to another visual tutorial of Webex. Setting up or scheduling meetings in Webex is pretty straightforward and beginner-friendly. All the tools and features are self-explanatory. Within a few clicks, you can schedule a meeting. If you are new to Webex and want to schedule a meeting for your team members, then I believe this tutorial will significantly help you. If you have operated any conference call app earlier, it will take you a few minutes to pick up. Just go through the steps shown below.
Steps to set up Meeting in Webex.
- First, open the Webex app.
- Now either click on “Meetings” (The calendar icon).
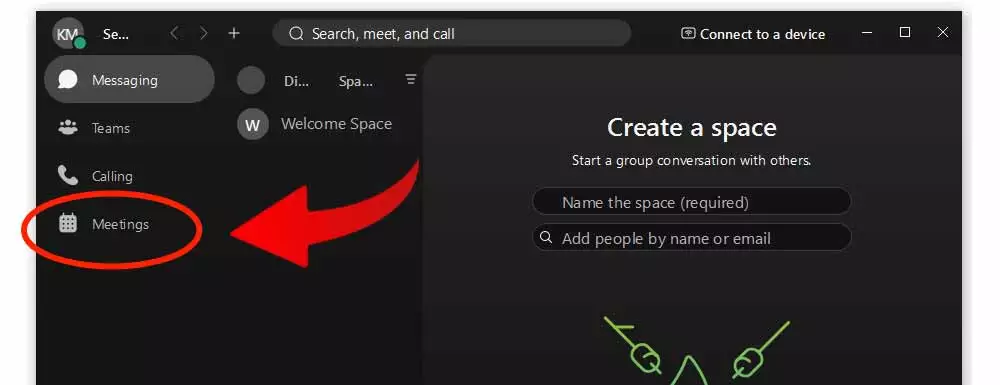
- Or you can simply click the (+) icon at the top and click on “Schedule a Meeting”.
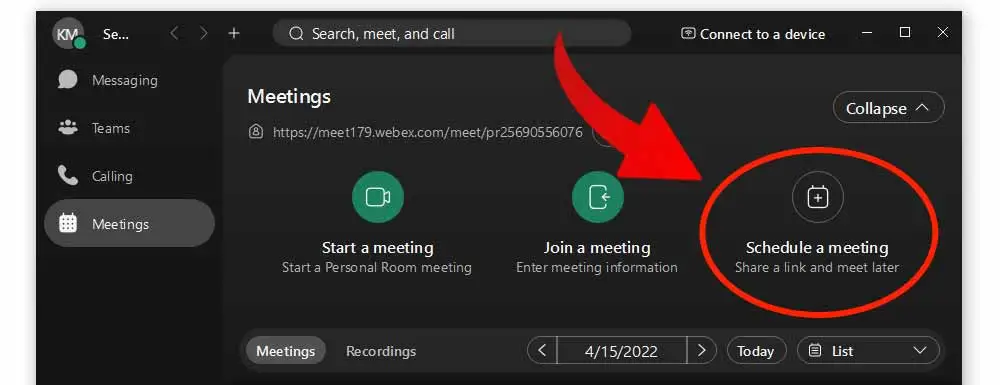
- All the Meeting options will appear. Again click on “Schedule a meeting”.
- All the Scheduling options will appear. In the topic box, type the meeting topic with a few words because you can write in detail about your meeting in the description box.
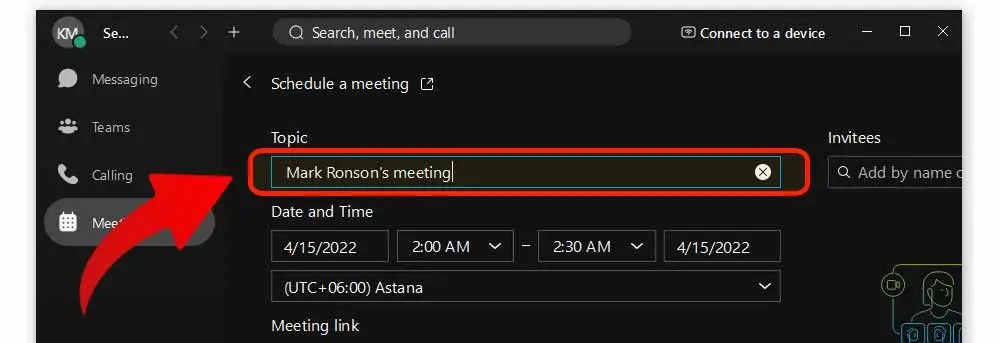
- Then, set the Meeting Time, Date & Time zone. Your time zone may not appear on the list. Don’t worry, the app can automatically detect your time zone. After coming to this menu, keep whatever time zone it shows.

- One more thing is to note here in the date and time section, you will find two pairs of date and time boxes. The left pair is for starting time of your meeting and the right pair is for the ending time. Fill up these boxes carefully according to your meeting duration.
- Select or check the “Generate a one-time meeting link” in the meeting link section.

- In the password section, you can provide your password. And in the description section, you can provide your meeting details and critical points.

- After filling up all the information above, click on the “Schedule” button.

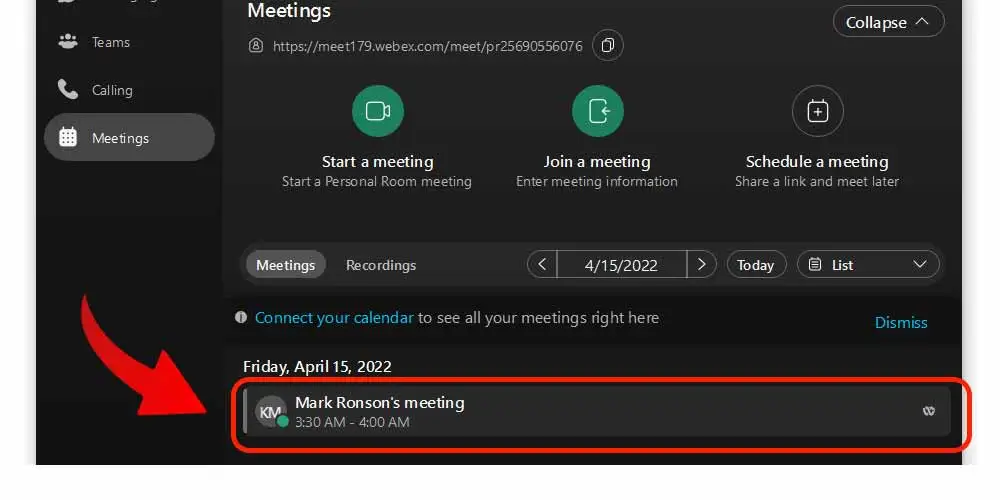
- After that, the newly scheduled meeting will be shown at the bottom of the Meetings section. Click on it (Left click).
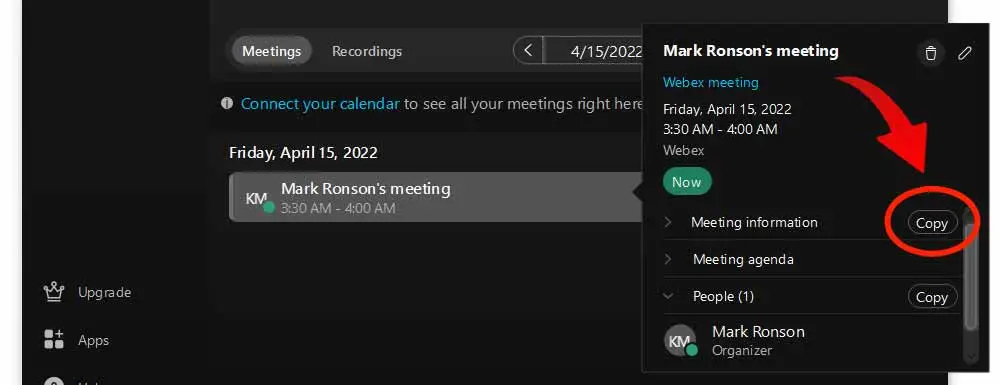
- A summarized meeting detail will appear. Click the “copy” button on the right side of the Meeting information. All the meeting details will be copied to the clipboard.
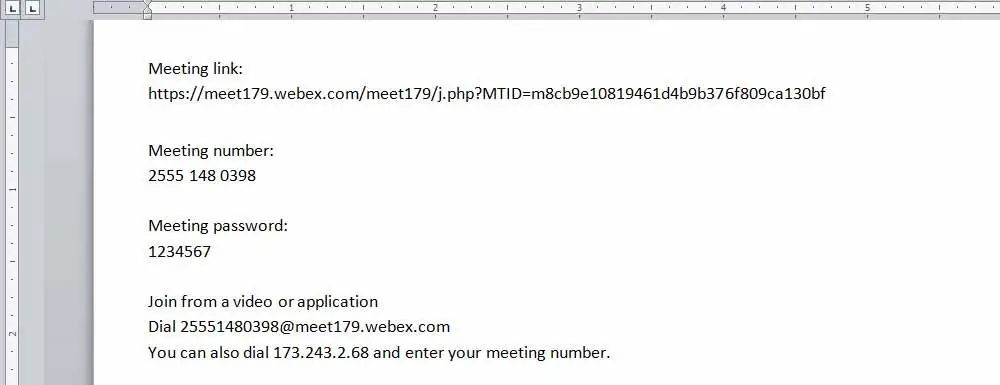
- Open a word file or a notepad and save the meeting details. You can now share these details with your meeting members through email or chat apps like Whatsapp, Messanger, etc.
Another point to note is that in the meeting link section, you should not select the Personal Room link because it has a different purpose. Personal Room is your own virtual conference space that allows you to start an instant meeting with your team members. If you want to learn more, you can go through the Webex Personal Room article provided on the website of Webex Help Center. However, if you want to know how to edit the Webex profile, you can go through another article on how to edit the display name in the Webex Meeting.
That’s all about scheduling a meeting in Webex. I hope you found this tutorial helpful.
Video: How to Set Up Webex Meeting

